top of page

Stripe setup guide
In this guide we will guide you through the Stripe setup steps.
Let's get started.
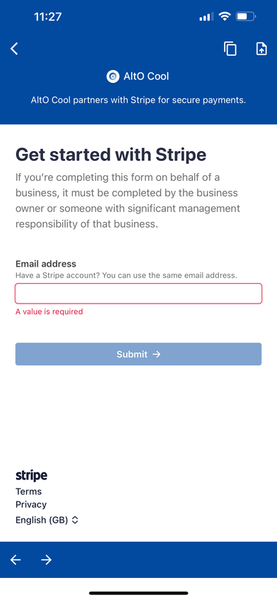
The first steps are to start setting up your acount with email and password. Please input your email address and password.
After this you are going to have to setup the 2 Factor Authentication. You will be provided a setup code that needs to be added to Google Authenticator. You can paste this code in the Google Authenticator app or you can scan the QR code if you are doing this on a desktop.

After you setup the Google Authenticator you will be asked to input the validation code shown in the application.

Next you will be asked about your business details. You need to provide business location and the type of business. The type of business changes based on the country you select. For now you need to have a valid business in the country you are based in to be a registered companion.

Next you will be asked about your business details. You need to provide business location and the type of business. The type of business changes based on the country you select. For now you need to have a valid business in the country you are based in to be a registered companion.
In the next step you will need to provide personal details such as your email, date of birth, address and phone number. This is needed to be compliant with the current legislation.

Next you need to feel in the business details such as the VAT Number for tax reporting, the industry and your website, if you don't have a website you can use your LinkedIn. For product description you can input "I participate in various activities with seniors".

Now to the financial part. In this step you need to input your bank account details. Such as the country of your bank account, currency, account holder name and IBAN. These options can vary based on the country and the currency of the account.

Now to the financial part. In this step you need to input your bank account details. Such as the country of your bank account, currency, account holder name and IBAN. These options can vary based on the country and the currency of the account.
In this step you need to fill in the details that will appear on the receipts. This will be shown to Alto admins, you can input your business name and for the summary you can write senior companion.

Scrolling down you will see the Customer support phone number which will be shown to Alto and will be used to get in touch with you if there are any issues regarding payment.

Now for the last step review the information entered in the previous steps and make any adjustments neccessary. Once you are done press "Agree and Submit".
Congrats! Your Stripe account is setup.
bottom of page